Serves: one visitor who has never heard of your project
Someone lands on your repository from a search result or a link in a thread. They read the top of the README and decide whether to keep going. This post sets out what that top has to hold, in the order a visitor needs it, using what GitHub's own README docs say. Read on 11 November 2026.
Ingredients
5 answers, no substitutions
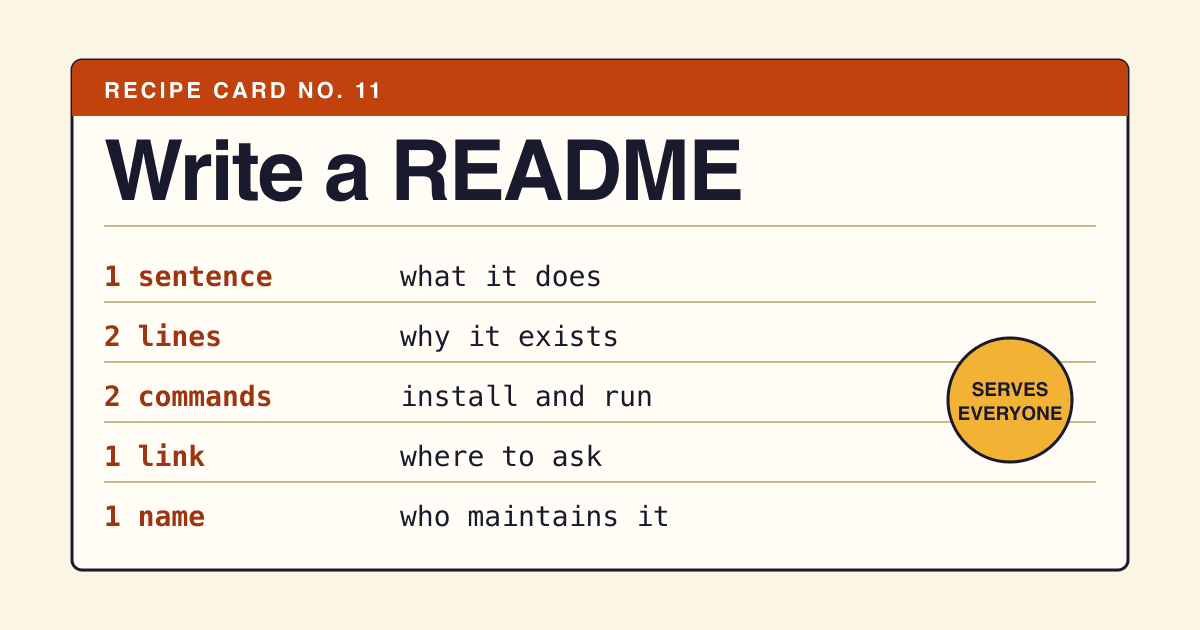
GitHub says a README is often the first item a visitor sees and that it typically includes information on five things. They make the shopping list:
- What the project does. One sentence, no jargon from your own code.
- Why it is useful. The problem it removes, for a named kind of person.
- How to get started. Install and a first working command.
- Where to get help. An issues link, a discussion board or an email.
- Who maintains it. A name or a team, so a visitor knows a person is behind it.
Nothing here is a rule enforced by GitHub. It is a list of what READMEs usually carry, and a useful checklist for yours.
Step 1: One sentence for what it does
1 sentence, about 20 words
Write it before anything else, directly under the title. Say what the thing does and for whom: "A command line tool that checks Markdown links and fails the build when one is dead." A sentence like "A modern, blazing fast toolkit" tells the reader nothing they can test.
If you cannot write the sentence, the project is not ready for visitors yet. That is useful to learn before launch day, not after.
Step 2: Why it exists
2 lines
Name the problem the reader already has. "Dead links in docs go unnoticed until a user reports them" is a problem. "Links are important" is not. Add one line on how your tool differs from the obvious alternative, only if you can say it fairly.
Step 3: The shortest path to a working result
1 install command, 1 run command, 1 sample of output
This is the part visitors copy. Give them the exact lines and show what the output looks like, so they can tell it worked. The skeleton below is a made-up project: put your own package name where the angle brackets are.
# your-tool

A command line tool that checks Markdown links and
fails the build when one is dead.

## Install

    npm install --save-dev <your-package>

## Use

    npx <your-package> docs/

    docs/intro.md:14  404  https://example.com/old
    1 dead link found
Step 4: Say where to ask
1 link
A visitor who hits an error and finds no place to ask leaves. Link the issue tracker, and say if you answer questions somewhere else. If you do not offer support, write that in one line: it saves both sides time.
Step 5: Name the cook
1 line
A maintainer's name or a team name, plus the license, which GitHub lists beside the README among the files that set expectations for a project.
Kitchen notes: what GitHub does with the file
Where it lives
GitHub recognises a README in a hidden .github folder, the root or docs. If there are several, it shows the one from .github first, then the root, then docs. A forgotten README in .github will hide the one in the root.
How much it reads
On GitHub, content beyond 500 KiB is truncated. You will not reach that, but it is another sign that a README is an entry point and not a manual.
Contents menu
GitHub builds a table of contents from your headings for any rendered Markdown file. It sits behind the "Outline" icon in the corner, so descriptive headings do real work. Every heading also gets an anchor you can link to.
Links to your other files
Use relative links such as docs/CONTRIBUTING.md. GitHub rewrites them for the branch being viewed, and they keep working in a clone. Keep the link text on one line: GitHub says a link text broken across lines will not work. Absolute links may fail in clones, and the docs recommend relative ones.
Longer material
The docs say a README should hold only what developers need to get started and contribute, and that longer documentation suits a wiki. Link out for API references, design notes and history.
Two common mistakes
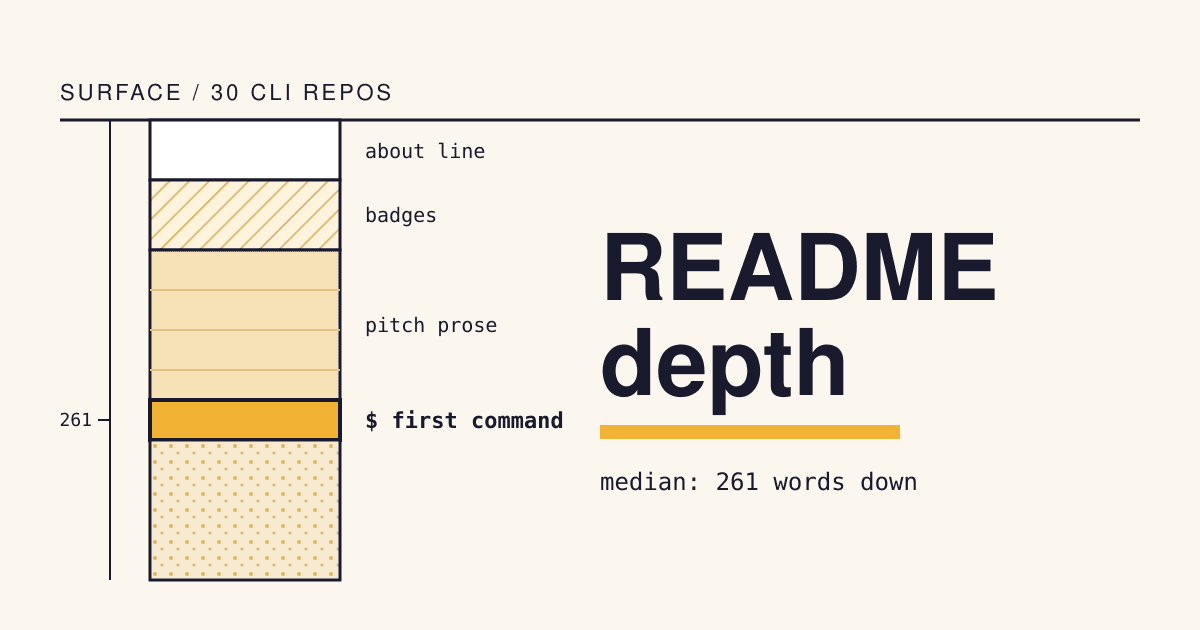
Starting with a logo wall, badges and a table of contents.
Start with the title and the one sentence. Badges can follow it, since they show status rather than meaning.
Writing the full manual in the README.
Keep the README to the five answers and link to longer docs. GitHub's own docs say the same.
Before you publish: the taste test
- A stranger can say what the project does after reading one sentence.
- The install and run commands work when pasted into a fresh folder.
- The page shows where to ask for help.
- Someone is named as maintainer, and a license is present.
- Every link to a file in the repo is relative, on one line.
Questions
How long should a README be?
GitHub gives no length. Its docs say to keep it to what is needed to get started and contribute, and to move longer documentation to a wiki.
Do I need badges?
No. GitHub does not require them. If you add some, put them after the one sentence so the meaning comes first.
Can I have a README on my profile?
Yes. GitHub shows a README from a public repository named after your username on your profile page.